Research Backed, Marketing First Team Page Photos With Portable Studio
%20(1)%201.png)
.png)
.png)
July 30, 2026
%20(1).jpg)

A PR-ready headshot package means one high-resolution master file plus labeled exports: a TIFF or RAW source, web-optimized JPGs at 1200px wide, and pre-cropped square (1:1), portrait (4:5), and landscape (16:9) variants, each with roughly 20% breathing room on all sides so editors can reframe without losing the subject. Include a caption file, a usage-rights statement, and clear filenames before you send anything to a journalist, conference organizer, or LinkedIn profile.
Here is the fast checklist to hand your photographer today:
firstname-lastname-headshot-tiff.tif / firstname-lastname-headshot-web.jpg.txt or .docxPro Tip: If you’re preparing for a fundraise announcement, a conference speaking slot, or a VC portfolio page, have the full package ready before the opportunity lands. Scrambling for a usable headshot after TechCrunch emails you is not a plan.
studio2U provides on-site corporate headshot sessions that deliver this complete package, including labeled exports, retouching, and a five-day turnaround, directly at your office.
The numbers that matter most depend on where the image lands. Print and web have different floors, and confusing them is how a founder ends up with a pixelated photo in a conference program.
| Use Case | Minimum Pixels | Recommended Pixels | DPI | Format |
|---|---|---|---|---|
| Web article / blog | 1200px wide | 1200px wide | —–96 | JPG (90–95%) |
| LinkedIn profile | 400×400 px | 1200×1200 px | — | JPG or PNG |
| Speaker program (print) | 1200×1500 px | 2400×3000 px | 300 | TIFF or JPG |
| Full-page editorial print | 2400×3000 px | 3600×4500 px | 300 | TIFF or RAW |
| Conference banner (16:9) | 1920×1080 px | 3840×2160 px | —–150 | JPG or PNG |
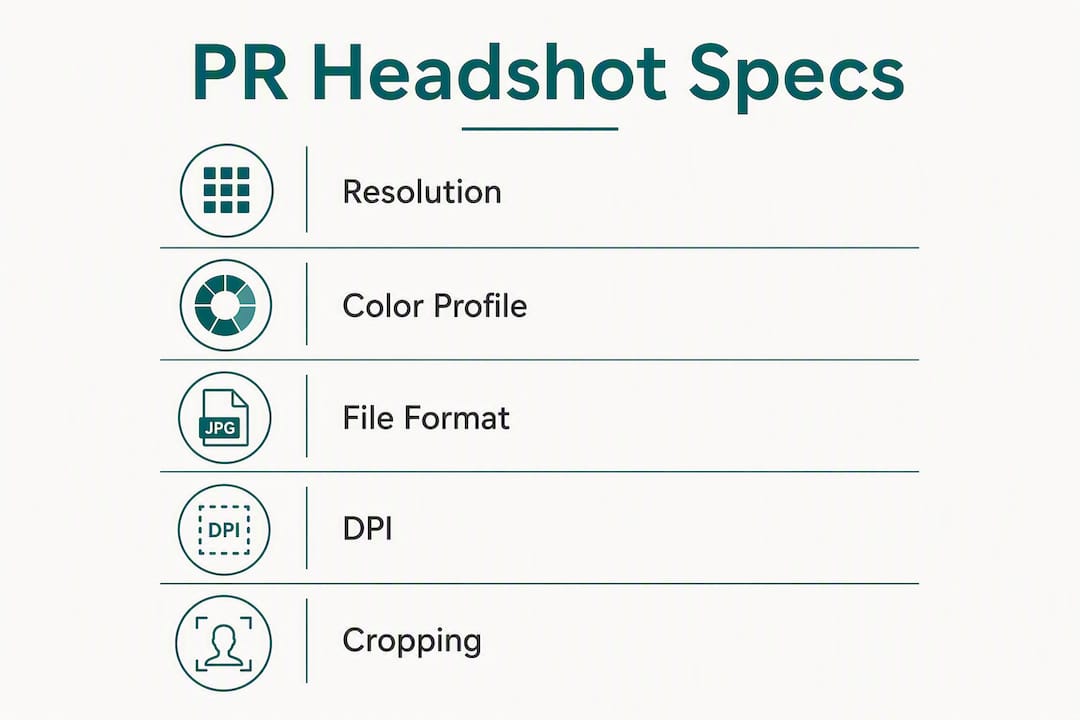
Print publications require 300 DPI at the intended print size. A 4×5 inch print needs sufficiently high resolution for professional print quality, and a full-page feature requires significantly higher resolution to ensure image quality. Delivering less than that forces the art director to either reject the image or publish something visibly soft.
For color profiles: send sRGB for all digital use. Adobe RGB or CMYK should only go out when a print vendor specifically requests it. Most publications convert on their end, and sending Adobe RGB to a web editor often produces washed-out colors.
Pro Tip: Save web JPGs under reasonable file sizes without compromising image quality to facilitate faster downloads and reduce email filtering issues.
File naming matters more than most teams realize. Editors receive dozens of images per story. A file named IMG_4872.jpg gets ignored or lost. Clear filenames and a caption file reduce editorial friction immediately.
Framing determines whether an image survives being repurposed. A tight portrait crop that works on LinkedIn may lose the shoulders entirely when a conference designer needs a landscape banner. The solution is to shoot with versatility in mind and deliver pre-cropped variants.
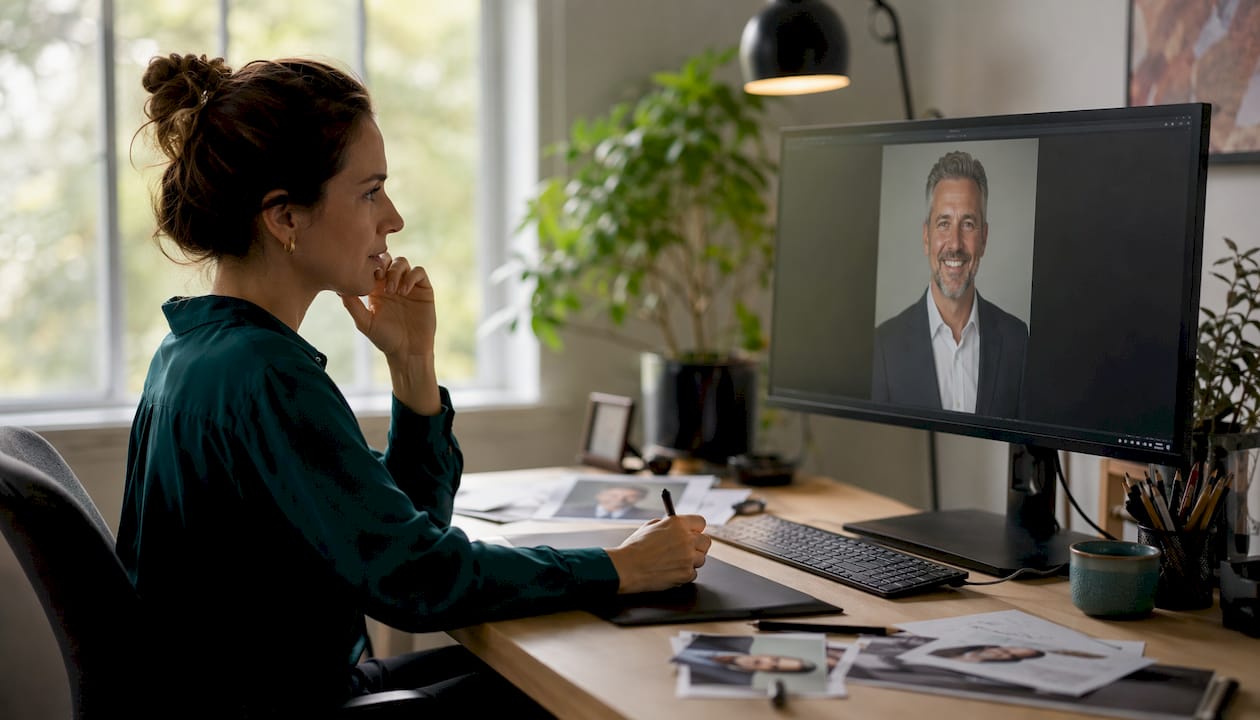
The face should fill roughly 60% of the visible frame for thumbnail uses. For wider crops, pull back to include the upper torso. Leave about 20% empty space on all sides of the head and shoulders so any editor can reframe to vertical, horizontal, or square without cutting off ears or chin.
The 20–60–20 rule describes the ideal frame balance: roughly 20% negative space at top, 60% subject, 20% negative space at bottom. This gives editors room to add text overlays, crop to a different ratio, or place the subject off-center for a banner layout.
Orientation guide by media type:
For the torso turn: rotate the body 20–30° from the camera while keeping the face square to the lens. This creates depth and a more natural silhouette. A slight chin-down tilt defines the jawline and reduces the flat, ID-photo look that reads poorly in editorial contexts.
Pro Tip: For landscape banners, place the subject off-center toward one side of the frame. This leaves the opposite third open for text overlays, which conference designers need and almost never ask for explicitly.
Deliver pre-cropped exports labeled by orientation. One uncropped master at full resolution should accompany every package.
Background choice is one of the most consequential decisions in a PR headshot, and it’s also the one most founders get wrong. A branded office background with a company logo on the wall looks current today and becomes a liability the moment the company rebrands or the executive moves on.
Lighting setup for editorial use:
Mid-tone gray (40–60% gray) is the standard recommendation for press backgrounds. It preserves separation from both white page backgrounds and dark website themes, and it holds up well on projectors. Pure white can blow out on bright displays; pure black loses detail in print.
Avoid branded backgrounds with company logos. If the subject later leaves the company, those images become inadvertent advertising for a former employer. A professionally blurred environmental background (a clean office interior, for example) is acceptable for brand-context shots, but always provide a neutral-background version alongside it.
High contrast between subject and background helps images hold up on mobile thumbnails and projector screens. A dark blazer against a mid-gray background reads clearly at 100px wide. A navy blazer against a dark background disappears.
Pro Tip: Test the master file on a large monitor at 1920×1080 before delivering. Sharpness issues and color casts that look fine on a laptop screen become obvious at full resolution on a calibrated display.
Dress one level above your daily attire. If you wear jeans to the office, wear dark trousers and a blazer for the shoot. If you usually wear business casual, step up to a suit or structured jacket. The goal is credibility at a glance, not formality for its own sake.
Wardrobe dos:
Wardrobe don’ts:
For glasses: anti-reflective lenses are strongly preferred. If the subject wears standard lenses, angle the key light slightly to eliminate glare. Tinted lenses are not appropriate for PR headshots.
Hair and makeup should look polished but natural. Heavy contouring and dramatic makeup that looks strong in person often reads as overdone under studio lights. Matte products reduce shine. For men, a light powder application eliminates forehead glare that would otherwise require heavy retouching.
| Element | Recommended | Avoid |
|---|---|---|
| Colors | Jewel tones, navy, deep neutrals | Neon, white, very pale pastels |
| Patterns | Solid or fine subtle texture | Stripes, checks, busy prints |
| Jewelry | Small, matte, minimal | Large, reflective, dangling |
| Makeup | Natural, matte finish | Heavy contouring, glitter |
| Glasses | Anti-reflective lenses | Tinted, reflective frames |
Pro Tip: Include a wardrobe guidance note in your call sheet. Subjects who receive it the day before arrive prepared. Subjects who don’t often show up in a striped shirt.
A complete package eliminates back-and-forth with editors. Journalists and event organizers value versatility over a single artistic portrait, so deliver multiple orientations and curated options they can use immediately.
| File | Format | Minimum Size | Use Case |
|---|---|---|---|
| Master (lossless) | RAW or TIFF | 2400×3000 px | Print, archival |
| Print-ready | TIFF | 1200×1500 px | 4×5 editorial print |
| Web portrait | JPG (90–95%) | 1200×1800 px | Website bio, press kit |
| Square crop | JPG or PNG | 1200×1200 px | LinkedIn, social, VC pages |
| Landscape crop | JPG | 1920×1080 px | Banners, event programs |
| Speaker pack square | JPG | 2000×2000 px | Conference organizer use |
| B&W variant | JPG or PNG | 1200×1800 px | Design team request |
For speaker and conference use, provide at least one square and one landscape crop and test images at 1920×1080 to confirm they hold up on a projector screen.
Caption template to include with every file:
Include a _MANIFEST.txt or _MANIFEST.docx inside the ZIP that lists every file, its intended use, and the usage-rights statement. This one document eliminates most of the “can we use this?” emails from editors.
Pro Tip: A black-and-white variant takes minutes to export and saves hours when a design team needs it for a print layout. Include it by default.
A headshot without a signed usage agreement is a liability waiting to surface. Before any image goes to a journalist, conference organizer, or investor deck, confirm that the photographer has granted the rights needed and that the subject has signed a release.
The simplest license language to include with every press-kit delivery:
Paste this into the caption file and the ZIP manifest. It tells editors exactly what they can do without requiring them to email you.
Metadata fields to populate in EXIF/XMP:
Submission guidelines from organizations like the AVMA consistently require neutral backgrounds, even lighting, and no watermarks or logos on submitted images. These same standards apply when submitting to media outlets and conference programs.
Pro Tip: Keep a signed model release on file for every subject, even internal employees. Acquisitions, team page updates, and press syndication all create moments where someone asks for clearance documentation.
DIY headshots can work with a good rear camera, natural light, a tripod, and a clean background. But professionals provide consistent lighting, multiple background options, and technical deliverables that reduce rejection rates from editors and conference organizers. The gap between DIY and professional widens fast when you need more than one or two people photographed.
Hire a professional on-site studio when:
| Factor | DIY | Local Studio | Nationwide On-Site |
|---|---|---|---|
| Cost | Low | Moderate | Higher per session, lower per person at scale |
| Consistency across team | Variable | Moderate | High (identical lighting, backgrounds) |
| Turnaround | Varies | Days to weeks | Five days (studio2U standard) |
| Scale (multiple people) | Impractical | Requires multiple trips | Single session at your office |
| Deliverable package | Manual | Varies by studio | Standardized exports, labeled ZIP |
An on-site studio brings portable lighting, multiple background options, and a standardized workflow to your office. Every person on the team gets photographed under identical conditions, which means the leadership page on your website looks like one cohesive team rather than a collection of photos taken in different cities over three years.
Pro Tip: Schedule on-site sessions during normal business hours with a prepared call sheet and outfit options ready. A 20-person team can be photographed in under three hours with the right setup.
Send this checklist to your photographer or internal production team before the shoot. It covers every file, crop, and caption element a journalist or event organizer needs.
Files to deliver in a single labeled ZIP:
_MANIFEST.txt listing all files, use cases, and usage rights_CAPTIONS.txt with name, title, company, credit, and license per subjectPhotographer brief template fields:
Pro Tip: Label the ZIP with the company name and shoot date: CompanyName-Headshots-2026-03.zip. Editors who receive dozens of press kits per week will find your files in seconds.
File naming is the detail most teams skip and most editors notice. A clear, consistent naming convention means your image gets used; a cryptic one means it gets skipped.
Standard format: firstname-lastname-descriptor-version.ext
Examples:
jane-doe-headshot-web.jpgjane-doe-headshot-print.tifjane-doe-headshot-square.jpgjane-doe-headshot-landscape.jpgjane-doe-headshot-bw.jpgUse lowercase letters, hyphens instead of spaces, and no special characters. Include the descriptor so the file’s purpose is obvious without opening it. For teams, add a company prefix: acme-jane-doe-headshot-web.jpg.
Version control matters when images are updated. Add a date suffix for revised files: jane-doe-headshot-web-2026-03.jpg. This prevents editors from accidentally using an outdated photo after a rebrand or executive change.
Expression is the single element that most directly shapes how a viewer perceives the subject. A slight, natural half-smile reads as approachable and confident, which works for most PR contexts: press releases, LinkedIn, website bios, and investor materials. A fully closed, neutral expression reads as authoritative and works well for formal executive bios and board-level profiles.
Direct eye contact with the lens is standard for PR headshots. It creates a sense of engagement and trust that slightly off-camera gazes do not. The subject should look slightly above the lens rather than directly into it, which produces a more natural, forward-facing expression without the intensity of a direct stare.
Avoid forced smiles that don’t reach the eyes. Photographers achieve natural expressions by keeping subjects talking between shots rather than asking them to hold a pose. The best PR headshots look like a moment caught mid-conversation, not a pose held for three seconds.
Branding in headshots works through consistency, not decoration. Avoid placing logos directly on headshot images; most publications will reject them, and they look unprofessional in editorial contexts. Instead, build brand consistency through shared visual elements across the team.
Consistent branding elements to standardize:
If your brand uses a specific color accent (a teal background panel, for example), it can work as a consistent background element across team photos. Test it against multiple skin tones before committing. What looks clean on one person can look harsh on another.
Over-retouching is the most common mistake in PR headshots, and it creates a specific problem: the image no longer looks like the person. When a journalist meets a founder at a conference after seeing a heavily retouched photo, the disconnect undermines credibility rather than building it.
The standard for PR retouching is “polished but recognizable.” Remove temporary blemishes, reduce shine, and smooth obvious skin texture without altering facial structure, removing permanent features, or changing skin tone. Teeth whitening is acceptable in moderation. Eye brightening should be subtle.
What to retouch: temporary blemishes, flyaway hair, shirt wrinkles, and shine from studio lights. What to leave alone: natural skin texture, permanent features, and the subject’s actual bone structure. Heavy frequency separation retouching that produces a plastic-skin effect reads as untrustworthy in press contexts and will be noticed by editors.
A complete PR headshot package requires a high-resolution master file, labeled exports in three orientations, and a caption file with usage rights so editors can publish immediately without follow-up.
| Point | Details |
|---|---|
| Deliver a full export set | Include TIFF master, web JPGs at 1200px, square, portrait, and landscape crops in every package. |
| Leave 20% breathing room | Empty space on all sides lets editors reframe without losing the subject’s head or shoulders. |
| Use sRGB for digital, TIFF for print | sRGB covers all web and social use; send TIFF or RAW only when a print vendor requests it. |
| Name files clearly | Use firstname-lastname-descriptor.ext so editors find the right file without opening every image. |
| studio2U for on-site execution | studio2U brings portable studios to your office with standardized exports and a five-day turnaround. |
The conventional wisdom is that headshots are a nice-to-have for early-stage companies. Get the product right first, then worry about photos. That logic sounds reasonable until a TechCrunch reporter emails asking for a high-res founder photo at 4 PM on a Tuesday and the best available option is a cropped screenshot from a Zoom call.
The real cost of unpreparedness isn’t the scramble. It’s the signal it sends. Investors, journalists, and conference organizers form impressions quickly. A pixelated headshot or a mismatched team page tells a story about operational attention to detail before a single word of your pitch lands. Authentic team photography outperforms stock images for trust and credibility because it shows real people, and real people build real companies.
What I’ve seen consistently across startups and growth-stage companies is that the teams who invest in visual branding before they need it use it constantly. The ones who wait until a press opportunity forces the issue end up with rushed photos that don’t match their current brand, team, or stage. Consistent, PR-ready headshots support fundraising announcements, investor updates, VC portfolio pages, and speaker programs simultaneously. One well-executed shoot generates assets that work across every channel for 18–24 months.
When your team is spread across two floors and a fundraise announcement drops next week, you don’t have time to coordinate 15 people to an off-site studio. studio2U solves that by bringing a portable professional studio directly to your office, with multiple background options, standardized lighting, and a five-day delivery turnaround.
Every package includes a labeled ZIP with TIFF masters, web-optimized JPGs, square and landscape crops, retouched selects, and a caption file ready for press distribution. The same production scales from a five-person founding team to a 200-person portfolio company rollout, with identical visual standards across every location. studio2U works with startups, VC firms, accelerators, and enterprise teams nationwide.
If you’re preparing for a fundraise, a press campaign, a conference speaking slot, or a team page refresh, book your on-site session and have press-ready assets delivered within five business days.
Pass these links to your photographer or include them in your production brief so technical standards are clear before the shoot begins.
Pro Tip: Include the AVMA guidelines PDF link in your photographer brief. It’s a concise, authoritative one-page reference that sets expectations without requiring a long written spec.
