For corporate headshots, wear a structured outer layer in a solid mid-tone color that matches your industry register. That single rule covers roughly 80% of what goes wrong in a headshot wardrobe. The rest is execution.
Here is the short version before the detail:
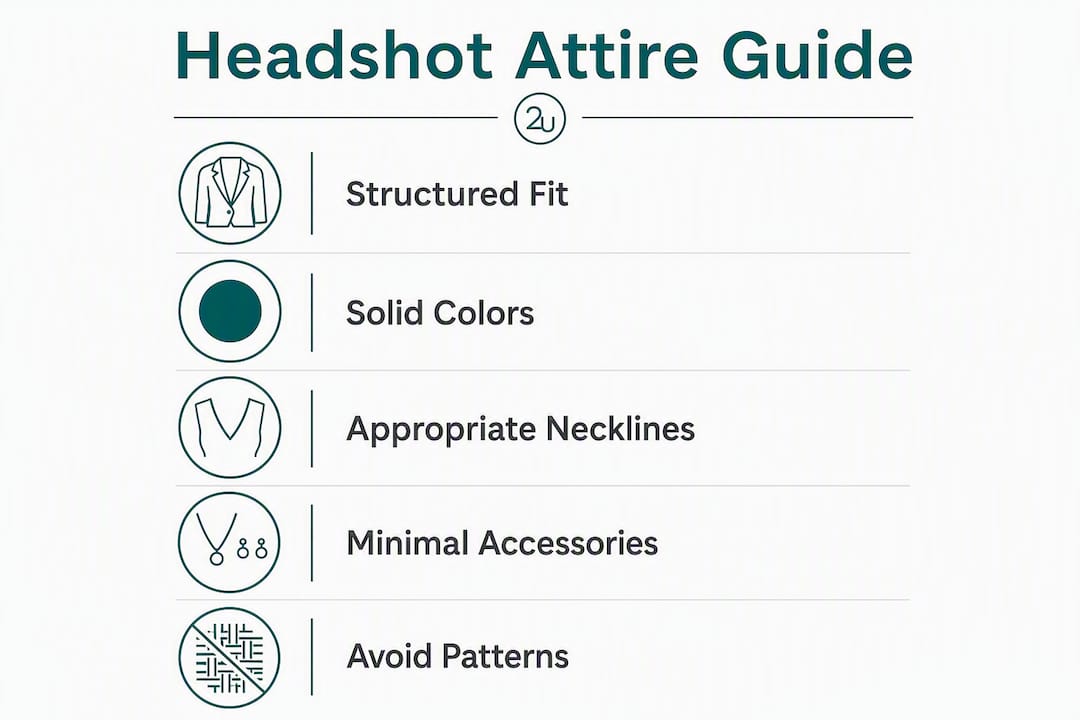
- Structured outer layer: A blazer, fitted jacket, or clean crewneck sweater frames your face and signals competence on camera regardless of industry.
- Solid mid-tone color: Navy, charcoal, forest green, burgundy, or slate blue photograph consistently and hold detail under studio lighting better than pure black or white.
- Minimal accessories: Keep jewelry small, patterns absent, and logos off the frame entirely.
Industry register matters as much as the garment itself. Finance and legal professionals tend to read best in dark suits or structured blazers. Tech and consulting roles can lean toward polished knits or open collars. Creative and marketing roles have more latitude with texture and color, though the structure rule still applies.
Table of Contents
Why does clothing choice change how a headshot reads?
The camera does not see the way your eye does. It flattens depth, amplifies contrast, and compresses fine detail into a small frame. Clothing that looks fine in a mirror can create real problems on a sensor.
The immediate visual effects:
- Face framing: A structured neckline or collar directs the viewer’s eye upward. A low or shapeless neckline does the opposite.
- Perceived authority: Structured outer layers read as competent and deliberate. Casual or wrinkled fabric reads as unprepared, even when the expression is confident.
- Thumbnail readability: LinkedIn profile images display at roughly 400×400 pixels. A busy pattern becomes visual noise at that size; a solid mid-tone stays clean.
The technical problems clothing creates:
- Moiré effect: Fine stripes, small checks, and tight herringbone patterns interfere with the camera sensor’s sampling frequency, producing a shimmering distortion that requires time-consuming retouching.
- Blown highlights: Pure white fabric under studio lights often loses all texture and detail, creating a flat, overexposed patch near the face.
- Lost shadow detail: Pure black absorbs light and can flatten into a featureless silhouette, especially against a dark background.
A quick comparison: a person in a navy blazer over a white shirt reads as a senior professional. The same person in a light gray T-shirt reads as approachable but junior. Neither is wrong for every situation, but only one of them works across LinkedIn, a company website, a press release, and a conference badge simultaneously.
Core camera-ready rules every professional should follow
These rules are photographer-tested and apply across industries. Adapt the formality level to your role; keep the structure.
- Fit first, always. A well-tailored affordable garment photographs better than an ill-fitting designer one. Shoulder seams should sit exactly at the shoulder point.
- Wear a structured outer layer. A blazer, fitted jacket, or clean sweater creates a face frame and signals competence.
- Choose solid mid-tone colors. Navy, charcoal, forest green, burgundy, and slate blue are reliable. Avoid neon, pastels, and high-contrast patterns.
- Avoid fine patterns entirely. Pinstripes, small checks, tight herringbone, and fine knits all risk moiré on camera.
- Keep logos off the frame. Brand logos date the image and distract from the face. Plain garments stay usable for years.
- Minimize jewelry and accessories. Small studs, a simple watch, and nothing that dangles or reflects light.
- Steam and press everything before you pack. Wrinkles and lint are the most common retouching requests and the easiest to prevent.
- Bring several distinct outfit options. Lighting, background color, and skin tone all interact differently than you expect on set.
- Match formality to your industry register. Finance and legal lean dark and structured; tech can go polished casual; creative roles allow more texture.
Pro Tip: The shoulder seam is the first thing a photographer checks. If it drops off your shoulder or pulls toward your neck, the fit reads as wrong in a close crop even if the rest of the garment looks fine. Tailoring the shoulder is the single most effective wardrobe investment before a shoot.
What colors actually work for corporate headshots?
Mid-tone and jewel-tone solids are the most reliable choices for professional headshot clothing. They hold detail under studio lighting, contrast cleanly against most backdrops, and read well at small display sizes.
Colors that consistently work:
- Navy and charcoal: The safest choices across all industries and skin tones. They contrast with most neutral backdrops without competing with the face.
- Forest green and burgundy: Slightly warmer options that photograph well and feel less generic than navy.
- Slate blue and dusty teal: Work particularly well for medium and deeper skin tones.
- Off-white and cream: Better than pure white under studio lights. Pure white blows out and loses texture; off-white retains dimension.
Contrast and backdrop planning:
- If your studio uses a light gray or white backdrop, darker clothing creates the clearest face-to-background separation.
- Against a dark or charcoal backdrop, mid-tones like slate blue or forest green hold better than near-black.
- Avoid clothing that closely matches your skin tone. A light beige top on a fair-skinned subject can make the neck and face appear to merge into the garment.
A practical note on white: if you need a light tone, test an off-white or cream in a quick frame before committing. Many photographers recommend this as a standard first check.
Fit, silhouettes, necklines, and sleeves: what the camera reads
Fit is a technical issue, not a style preference. The camera crops tightly, so every detail of how a garment sits on the body becomes visible in a way it simply is not in person.
Shoulder fit and outer layers
A structured blazer or fitted jacket creates a silhouette that frames the face and signals competence. The shoulder seam must sit at the natural shoulder point. A dropped seam reads as too large; a seam that pulls toward the neck reads as too small. Both are immediately visible in a cropped portrait.

Necklines
Safe choices for tight crops include crew necks, modest V-necks, boat necks, and collared shirts. Deep V-necks create a long downward line that draws the eye away from the face. Scoop necks that sit low can look awkward when cropped at chest level. A collared shirt under a blazer is the most versatile combination for corporate and executive shots.
Sleeves vs. sleeveless
Sleeves generally photograph better than sleeveless tops for corporate headshots. A sleeve adds structure to the shoulder line and prevents the bare arm from becoming a visual distraction in partial-body frames. Cap sleeves can work, but they sometimes create an awkward crop at the shoulder. A three-quarter or full sleeve is the safer default.
Dos and don’ts:
- Do button the top button of a blazer for a structured look; unbutton for a more approachable one.
- Don’t leave a collar gap between shirt and jacket. It reads as a fit problem.
- Do check sleeve length: jacket sleeves should show a quarter inch of shirt cuff.
- Don’t wear sleeves that bunch or pull at the elbow. Steam them flat before the shoot.
What patterns, textures, and fabrics should you avoid?
Fine-line patterns are the single biggest technical risk in headshot wardrobe selection. Pinstripes, tight checks, fine herringbone, and dense knits all create moiré, a shimmering interference pattern that appears in digital images when the fabric’s repeat frequency clashes with the camera sensor’s sampling rate. It is far easier to avoid in wardrobe selection than to correct in post-production.
Fabrics and patterns to avoid:
- Fine pinstripes and micro-checks
- Tight herringbone and houndstooth
- Very dense or fine-gauge knits
- Sheer fabrics (they shift under lighting and reveal undergarments)
- Clingy or stretchy fabrics that show every contour
- Shiny or satin-finish fabrics that create hot spots under studio lights
Fabrics that hold up well:
- Structured cotton and cotton-blend suiting
- Medium-weight wool or wool-blend blazers
- Medium-gauge knit sweaters in solid colors
- Matte-finish fabrics across the board
On pure black and pure white: both can lose detail under studio lighting. Pure white blows out and flattens; pure black absorbs light and can merge into a dark background. Off-white, cream, light gray, and very dark navy are better alternatives at either end of the tonal range.
Accessories and glasses: how do you keep attention on your face?
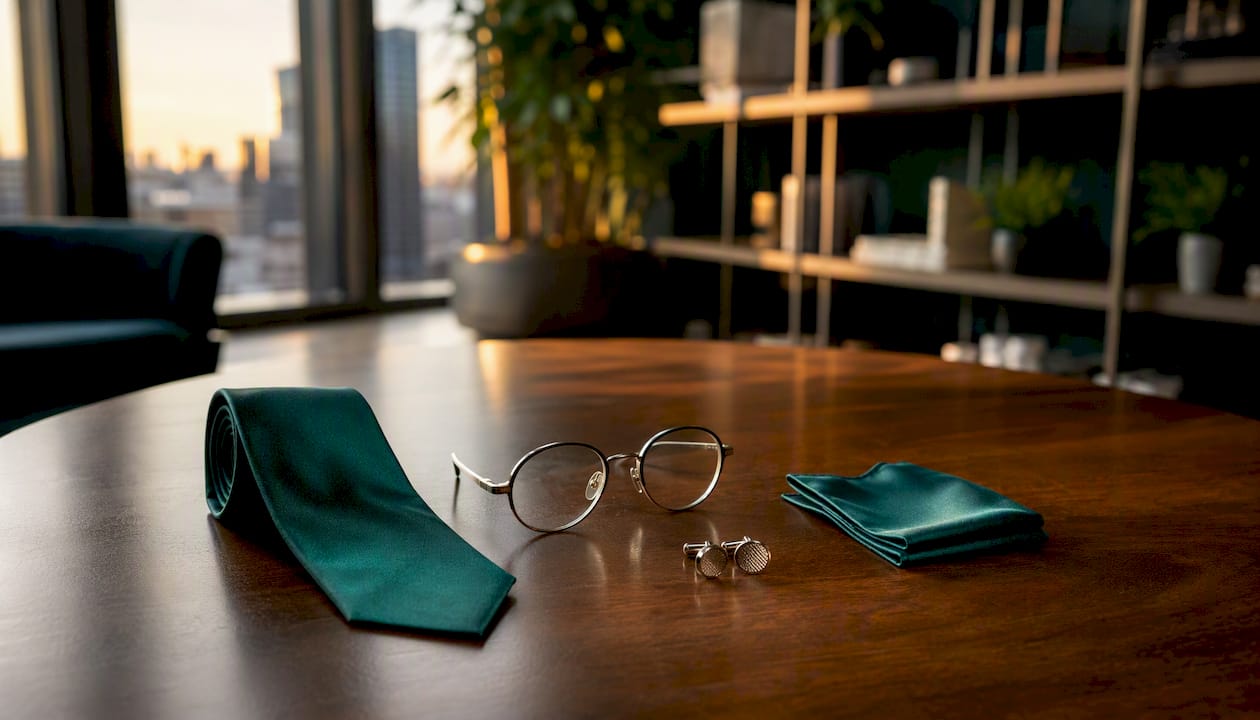
The goal of every accessory decision is to keep the viewer’s eye on your face. Anything that dangles, reflects light, or reads as a statement piece pulls focus away from the expression.
Jewelry guidelines:
- Small stud earrings or simple hoops that sit close to the ear are safe choices.
- A minimal watch is fine if it appears in the frame; avoid anything with a highly reflective dial.
- Necklaces that sit at or above the collarbone are less likely to distract than longer pendants.
- No dangling earrings, large statement pieces, or anything that catches studio light and creates a flare.
Glasses:
- If you wear glasses daily, include them for authenticity. A headshot without your glasses may not look like you to the people who meet you in person.
- Bring a spare pair in case of reflections or fit issues.
- Ask your photographer about anti-reflective coating or lighting adjustments. Most experienced photographers can reposition lights to eliminate glare without requiring you to remove your frames.
Ties, lapel pins, and branded accessories:
- A solid or subtly textured tie works well for finance and legal roles. Avoid novelty ties or bold patterns.
- Lapel pins are fine if they are part of your daily professional identity, but skip them if you want the most timeless result.
- Company-branded accessories date the image to a specific employer. For a headshot you plan to use for several years, plain is the better call.
Pro Tip: Bring two or three accessory options to the shoot. Swapping a tie or removing a necklace takes thirty seconds and can produce a noticeably different look from the same outfit, giving you more usable final images.
Grooming and makeup that reads well on camera
Studio lighting is unforgiving in ways that everyday lighting is not. Shine, uneven skin texture, and stray hairs all read more prominently on camera. The good news: small preparation steps make a larger visual difference than expensive wardrobe choices.
- Schedule haircuts 3–10 days before the shoot, not the day before. A fresh cut can look too sharp and styled; a few days of growth settles into a natural shape that photographs better.
- Trim facial hair the day before. The same logic applies: day-of trimming can leave the skin slightly irritated and the edges too precise.
- Hydrate for 48 hours before the shoot. Well-hydrated skin holds makeup better and reflects light more evenly.
- Avoid new skincare products in the 48 hours before the shoot. Reactions, redness, or unexpected texture changes are hard to correct on set.
- Apply makeup one step stronger than your daily routine. Studio lights wash out color. Matte finishes are essential; avoid shimmer, glitter, or heavy highlighting products that create hot spots.
- Skip heavy contouring. It can look natural in person but reads as uneven or overdone under studio lighting.
- Pack on-set touchup supplies: blotting sheets, translucent setting powder, a small comb or brush, and lip color for touch-ups between looks.
Coordinating multiple people and aligning with company brand
Team headshots introduce a new challenge: individual variation within a cohesive visual identity. The goal is not uniformity. It is a consistent formality level and tonal range that reads as one organization when the images appear together on a website or in a pitch deck.
Cohesion strategies:
- Matched outer layers: Everyone wears a blazer or everyone goes blazer-free. This is the simplest approach and works well for financial services and legal firms.
- Complementary color palette: Agree on a tonal range (cool neutrals, warm earth tones) and let individuals choose within it. Works well for tech and consulting teams.
- Common formality level: Standardize the register (business formal, business casual, smart casual) and allow individual color and style choices within that register.
Planning checklist for HR and marketing leads:
- Send a pre-shoot brief with color swatches and formality guidelines at least one week before the session.
- Ask each person to bring 3–5 distinct outfit options so the photographer can make adjustments for lighting and background.
- Plan for both a neutral backdrop and a branded backdrop if the company uses both in its marketing.
- Assign one person on set to handle wardrobe oversight: checking for lint, collar gaps, and fit issues before each person steps in front of the camera.
- If different roles require different registers (executives in suits, engineers in smart casual), plan the shoot order so similar looks are grouped together.
Plan ahead: what to bring and what to expect on shoot day
Arriving prepared is the difference between a smooth session and a stressful one. Most last-minute wardrobe problems are preventable.
- Pack 3–5 outfit options, including at least one more formal and one more casual look. Lighting and background interact with clothing in ways that are hard to predict until you are on set.
- Bring a steamer or confirm the studio has one. Wrinkles are the most common retouching request and the easiest to prevent.
- Include a lint roller, collar stays, safety pins, and fabric tape. These solve the small problems that derail a look.
- Bring spare glasses if you wear them, plus your blotting sheets and touchup makeup.
- Arrive 10–15 minutes early to steam garments, change, and settle before the camera goes up.
- Expect individual sessions to run 20–60 minutes for a single look with a few expression variations. Multi-look sessions typically add 10–15 minutes per outfit change.
- Team sessions generally run 1–3 hours depending on group size, with roughly 10–20 minutes per person for a single look.
- Plan for wardrobe test shots. A good photographer will shoot a quick frame in each outfit before committing to the full session, checking for moiré, color cast, and fit issues.
For practical on-set preparation tips that complement the wardrobe checklist, a photographer’s perspective on camera-ready habits is worth reviewing before your session.
Quick outfit examples by role
These are one-line visual references, not prescriptions. Use them as a starting point and adjust for your company’s specific culture.
Finance and legal:
- Charcoal suit, white dress shirt, solid navy tie
- Navy blazer, light blue collared shirt, no tie for a slightly more approachable read
- Dark gray suit with a burgundy pocket square for senior executives who want a touch of personality
Consulting and professional services:
- Slate blue blazer over a white or cream collared shirt
- Charcoal blazer with a medium-gray crewneck underneath for a polished but less formal look
- Navy suit, no tie, top button open for client-facing roles that lean business casual
Tech and startup:
- Structured charcoal or navy crewneck sweater, no blazer required
- Dark blazer over a solid-color T-shirt in a mid-tone (forest green, slate, burgundy)
- Polished knit in a jewel tone for a founder or executive who wants to signal approachability
Creative and marketing:
- Textured medium-weight knit in a warm earth tone or deep teal
- Blazer in an unexpected but muted color (olive, rust, deep plum) over a simple base layer
- Structured top in a bold but camera-safe solid (cobalt, deep red) for roles where personality is part of the brand
Healthcare:
- White coat over a solid-color collared shirt or blouse for clinical roles
- Navy or charcoal blazer for administrative and leadership roles where clinical attire is not appropriate
For partial-body or cropped headshots, the frame typically shows from mid-chest up. The outer layer and neckline are the only garments that matter. Pants, skirts, and shoes are irrelevant unless the shoot includes a full-body or environmental shot.
How do you pick the final outfit during the shoot?
Three questions settle it quickly. Run through them for each option before you commit.
- Does it match your industry register? A navy blazer works for finance; a textured knit may serve a creative director better. The right answer depends on where the image will appear and who will see it.
- Does it frame your face well? Stand in front of the camera and check the test shot. Does the neckline draw the eye upward? Does the shoulder fit sit correctly? Does the color contrast cleanly with the backdrop?
- Does it reproduce cleanly on camera? Look at the test shot on the photographer’s screen, not just in the viewfinder. Check for moiré, shine, and blown highlights before the full session begins.
When two options are close, choose the more conservative one for the primary image. The bolder option can be a secondary shot. A headshot used across a website, LinkedIn, press releases, and conference materials needs to work in every context, and the conservative choice almost always has the longer useful life.
A quick A/B method: shoot two frames back to back in different outfits, then view them side by side on the photographer’s laptop or tethered screen. The stronger image is usually obvious within five seconds.
Key Takeaways
The single most important rule for corporate headshot attire is a structured outer layer in a solid mid-tone color that matches your industry register, because fit and color together determine how the camera reads your authority and professionalism.
| Point |
Details |
| Fit beats brand |
Shoulder seams must sit at the natural shoulder point; tailoring matters more than the label. |
| Mid-tone solids win |
Navy, charcoal, forest green, burgundy, and slate blue hold detail under studio lighting better than pure black or white. |
| Avoid fine patterns |
Pinstripes, tight checks, and fine herringbone risk moiré, which is harder to fix in post than to prevent in wardrobe. |
| Bring 3–5 outfits |
Lighting and background interact with clothing on set in ways that are difficult to predict beforehand. |
| studio2U on-site sessions |
|
| studio2U brings portable studios to your location, handles team coordination, and delivers edited images within five days. |
|
The outfit detail most clients overlook
Most professionals spend their preparation time thinking about color and style. The detail that actually derails a headshot is almost always fit, specifically the shoulder seam, and the condition of the fabric when it comes out of the bag.
The conventional wisdom says to buy something new for a headshot. That instinct is usually wrong. A garment you have worn and had tailored will sit on your body more naturally than something purchased the week before. New clothes have not settled. They pull, gap, and bunch in ways that a worn-in garment does not. The camera picks up every one of those small tensions.
The second overlooked detail: grooming timing. Clients often schedule haircuts the day before because it feels like the right preparation. A cut that fresh has not had time to settle, and the edges look too precise on camera. Three to seven days out is the window where a haircut looks intentional but natural.
There is also a category of “wildcard” outfit that occasionally produces the most memorable image: a well-fitted blazer in an unexpected but camera-safe color, like a deep olive or a rich plum, worn over a simple base layer. It reads as confident and specific rather than generic. The risk is that it can feel dated faster than a navy or charcoal. For a primary headshot, go conservative. For a secondary shot in the same session, the wildcard is worth one frame.
When on-site professional headshot services are worth it
Getting the wardrobe right is one part of a strong headshot. The other part is a production environment that handles lighting, backdrop, and direction so the subject can focus entirely on expression and presence.
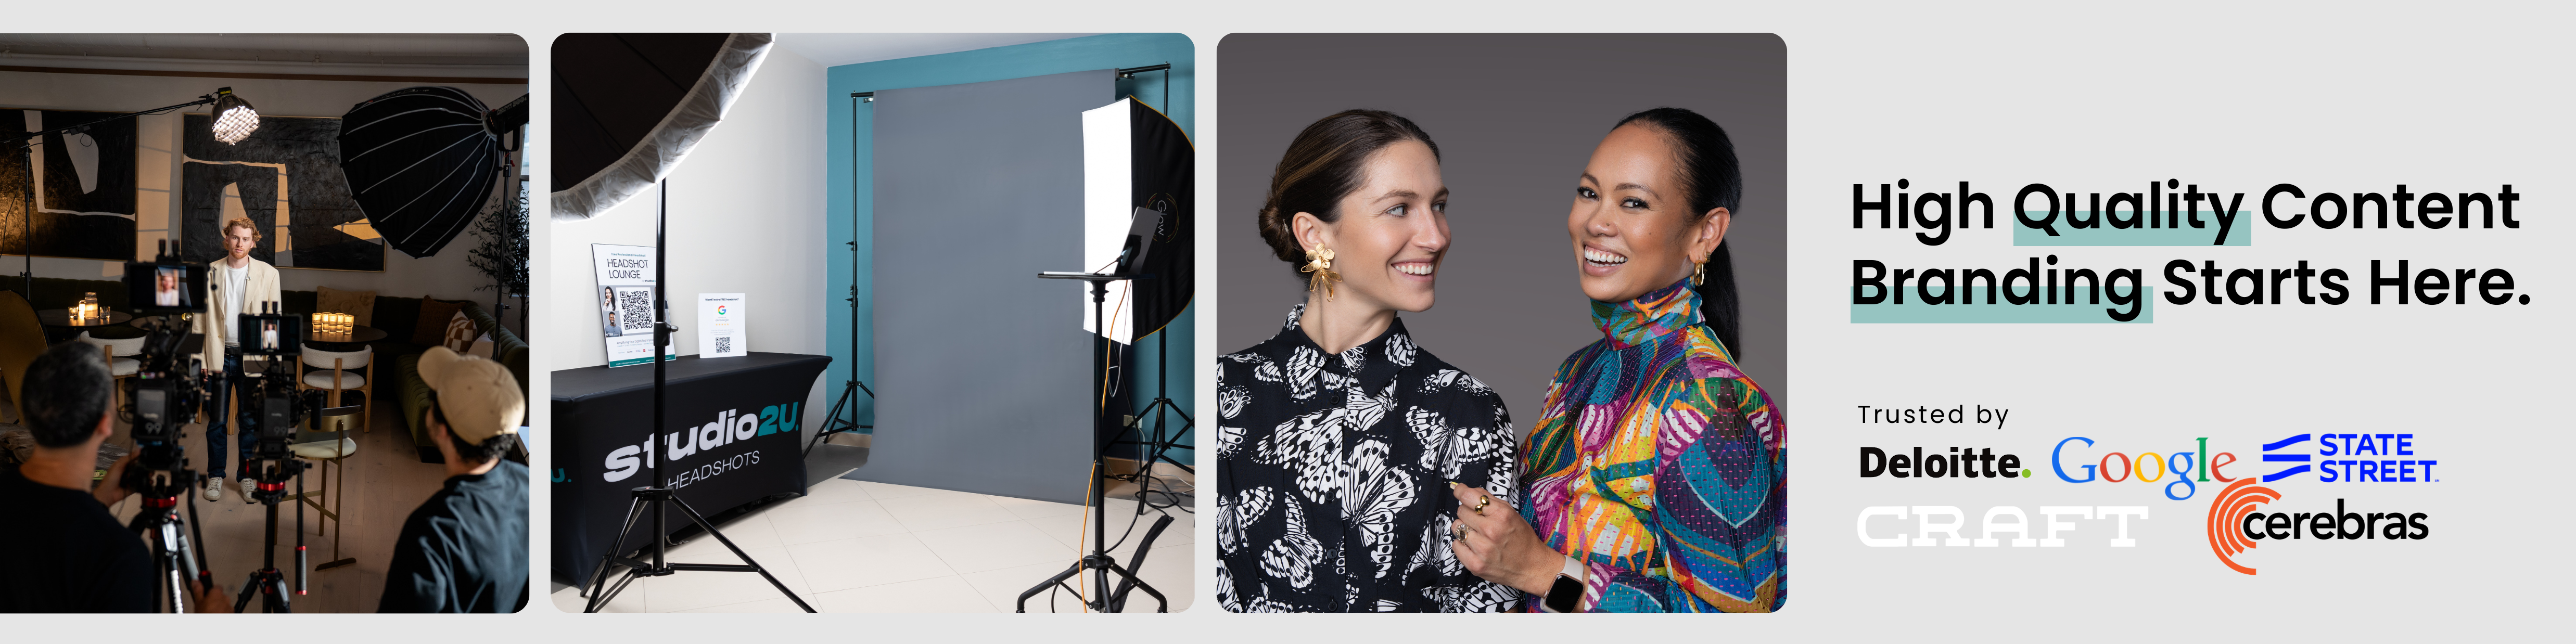
For teams of five or more, consistency across individual shots is genuinely difficult to achieve without a controlled setup. studio2U brings portable professional studios directly to your office, which means every person on the team is photographed under identical lighting conditions with the same backdrop and the same editing standards. There is no variation in color temperature, no mismatched retouching, and no scheduling a dozen people across different studios on different days. The turnaround is five business days. If your company is heading into a website refresh, a fundraising announcement, or a recruiting push, that timeline matters.
Book a team headshot session with studio2U and get a pre-shoot brief, on-set wardrobe oversight, and edited images delivered within five days.
FAQ
What should you not wear for a headshot?
Avoid fine patterns (pinstripes, small checks, tight herringbone), pure white or pure black, shiny or sheer fabrics, large logos, neon colors, and dangling jewelry. These either create technical problems on camera or pull attention away from your face.
What is the best color to wear for a headshot?
Solid mid-tone and jewel-tone colors photograph most consistently: navy, charcoal, forest green, burgundy, and slate blue all hold detail under studio lighting and contrast cleanly against most backdrops. Off-white or cream works better than pure white if you need a light tone.
How do you look thinner in a professional headshot?
Structured outer layers with a defined shoulder line create a clean silhouette. Darker solid colors recede visually. A V-neck or collared shirt elongates the neck. Avoid clingy, sheer, or horizontally striped fabrics, which add visual width.
Is it better to wear sleeves or sleeveless for headshots?
Sleeves are generally the better choice for corporate headshots. They add structure to the shoulder line, prevent the bare arm from becoming a distraction in partial-body frames, and read as more polished across most industries. Sleeveless tops can work in creative or casual contexts but are a riskier default.
Recommended
%20(1)%201.png)
.png)
.png)
%20(1).jpg)

