Office Tour Video: Plan, Shoot and Use It Well


November 19, 2026


Step and repeat photography puts every guest in front of a backdrop printed with your logo, so each photo taken at your event carries your brand. Done well, it comes down to three decisions: a wall designed to survive any crop, a station placed and lit so faces and logos both read clearly, and a photographer who delivers images your marketing team can use. We shoot on-site corporate events with portable studios, and this guide covers each decision in the order you will face it.
A step and repeat is a large banner or wall printed with a repeating pattern of logos. As one banner maker describes it, a guest steps up to the banner, the photographer takes the picture, the guest steps aside and the next person repeats the process. The photos then travel through social media and press coverage with your marks in the frame.
The name has two origins. One printer traces it to talent stepping onto a red carpet, posing and leaving while the next person repeats the sequence, and to the graphic design habit of repeating an image in Photoshop. The red carpet image is why people also search for it as a media wall or press wall.
For a corporate team, the useful way to think about it is as a photo studio with your brand built in. Every attendee, speaker, sponsor and investor who stops there produces an image that can go on LinkedIn, into a recap email or into a press release.
Not every event needs one. It pays off when people at the event want to be photographed and want to share it:
If your goal is individual headshots rather than social-style event photos, a dedicated booth with controlled lighting works better. We cover that setup in our guide to the conference headshot booth.
The most useful idea in the printing guides is that a step and repeat is not viewed, it is cropped. One printing guide argues that the design has to survive any crop. It recommends keeping the spacing from one logo to the next at 15 inches or less, so a tight two-person frame still catches whole logos. Past that spacing, the wall can look expensive and still read as nothing in the photo.
The most common design error is logos in straight columns. A backdrop guide explains that heads and shoulders can block an entire column, while a staggered checkerboard grid keeps at least one full logo visible beside each guest wherever they stand. Offset alternating rows by half the logo spacing.
Printers commonly quote 8 feet tall and 8 to 10 feet wide as standard sizes, and 8 by 12 feet or wider when groups will pose together. Another guide suggests a rule of about 2 feet of width per person plus a foot of margin on each side. If you expect speakers, founders or executive teams to pose in groups of four or five, go wider.
If the wall will stand behind a raised platform, plan for it. One printer notes that with a 2-foot riser, an 8-foot backdrop needs to be a 10-foot wall placed behind the riser, not an 8-foot wall sitting on top.

Guidance varies slightly between printers, which is itself useful: treat these as starting ranges, then confirm with your printer.
| Design choice | Typical guidance | Why it matters |
|---|---|---|
| Logo width | 8 to 14 inches | Large enough to read in a tight crop |
| Row offset | Half a logo, staggered | Keeps a logo beside every guest |
| Rows on an 8-foot wall | 4 to 6 | Avoids a wall that looks cluttered |
| Space between marks | 8 to 12 inches of clear space | Lets each logo breathe |
| Logo zone | Roughly 24 to 78 inches off the floor | The bottom 18 inches is usually cropped out |
| Artwork | Vector files | Logos stay sharp at full size |
Contrast matters as much as size. A pale logo on a pale field disappears in flash photography. Choose a background that sets your mark apart, and ask your printer for the matte option if flash will be used.
If you are a private equity firm showing a merged brand, decide before printing which mark leads. A wall with two competing logos in equal weight can look unresolved, and the photos will live far longer than the event.
A wall in the wrong spot produces a queue, a blocked doorway or photos no one wants. Guidance from event printers points to the same principles:
The camera should also sit far enough back that logos are not cropped out by common social media aspect ratios. One printer recommends about 8 feet between subject and photographer.
On a busy floor, a station can slow the whole event. We wrote about keeping on-site photography from interrupting the people around it in how to minimize disruption on photo day, and the same logic applies to a wall.
Lighting is what readers ask about most, and it is where DIY walls fail. The goal is even light on faces without glare on the banner.
The most common problem is glare. A camera flash pointed straight at a shiny surface leaves a bright hot spot behind the subject. Three fixes help together: a matte material, light coming from the side at an angle, and guests standing a few feet in front of the banner so shadows fall to the floor.
One guide describes two LED softboxes or off-camera flashes set at 45-degree angles to the left and right of the camera at around 7 feet high, with the camera on a tripod 8 to 12 feet back at about 5 feet high. Soft light from both sides fills faces evenly and keeps the pattern readable. Aiming the lights at a slight angle to the wall rather than head-on also reduces hot spots; another printer suggests a 10 to 15 degree angle.

In a red carpet walkthrough for Fstoppers, the photographer used a 24-105mm lens, a flash in manual at about 1/8 power, ISO 400, f/4 and 1/125 second. He noted subjects are usually only five to ten feet away, so very long lenses are unnecessary. Treat that as one example, not a formula: the right numbers depend on the room, the ceiling and the flash.
Venue lighting with strong colored uplights can tint skin tones. Controlled, consistent light at the wall solves this. If you want the principles behind that kind of controlled light, our write-up on headshot lighting setup explains how we think about it.
The same wall serves different readers differently:
A wall also pairs with other content. Short on-site interviews with customers beside the backdrop can become the opening of a client case study. When planning a case study shoot, decide in advance which outcomes, people and settings the story needs, then capture those along with the event itself.
An event wall produces hundreds of images. Without a plan, they sit in a folder. A few habits make them work:
For a recap gallery, choose a small hero set of your strongest images for the recap email and LinkedIn, then publish the full gallery organized by session or moment. That gives you a quick post and a lasting archive.
A wall is only as good as the photographs it produces. We see the backdrop as one piece of a visual story, not a standalone prop.
Our approach starts with a strategic discovery call: who needs to see these images, and what should they feel when they do? Then we bring a portable studio to your event so the station is lit and run with minimal disruption. Guests get authentic, human photos rather than stiff, staged ones.
Because we work with startups, venture firms, accelerators, private equity portfolios and conferences, we think about reuse from the start. A single event can feed your website, sales decks, recruiting pages and investor updates, and consistent visuals across locations make a young or newly merged company look established.
That is why we pair event content with live photo viewing, retouching and a five-day turnaround. Your team can use the images while the event is still fresh.
Kevin
We bring portable studios and production teams to your office, conference or portfolio company anywhere in the markets we serve, including New York, the San Francisco Bay Area, Boston, Miami-Ft. Lauderdale, Austin, Dallas-Ft. Worth and Houston. Event content comes with live photo viewing, retouching and a five-day turnaround. You can read how live photo viewing works on our blog.
Our published conference packages are per shoot: Networking at $2,500, Summit at $4,500 and Conference at $8,000. If you also need team portraits or branding imagery around the event, our Standard (from $2,000) and Enterprise (from $3,500) packages and the $1,000 Branding Add-On sit on a separate page, and the Start Up package is $2,500.
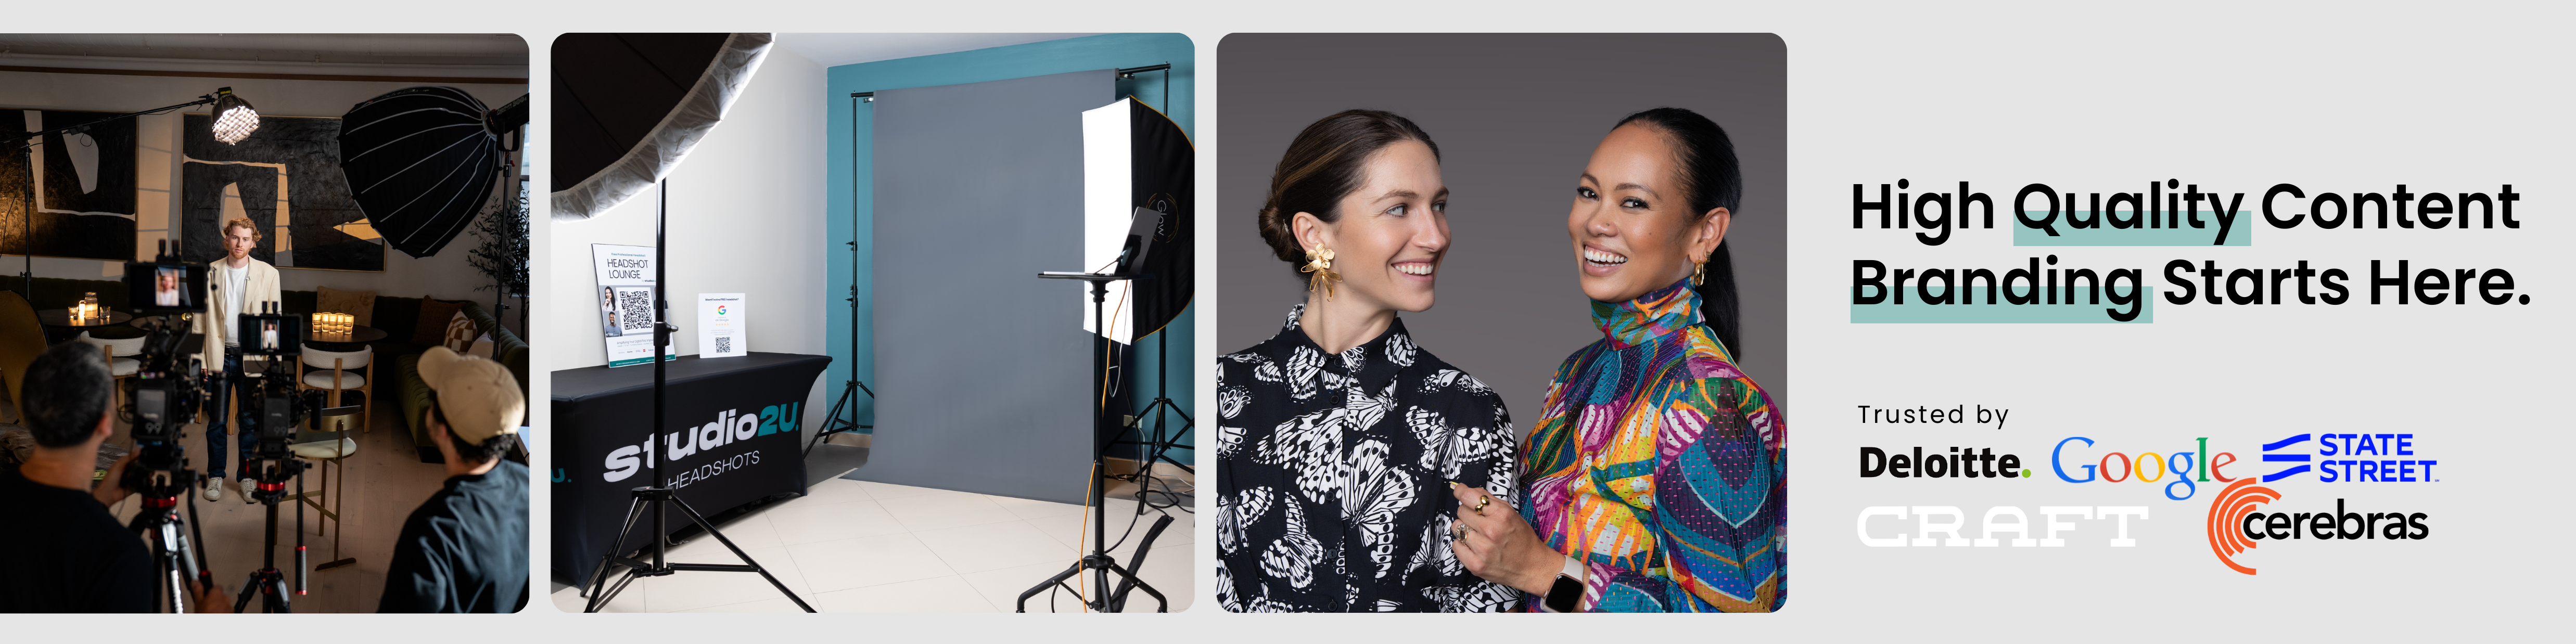
If you are planning an event, start with the discovery call and tell us what the photos need to do. We will shape the station around that goal.
A few feet. One printer’s guide suggests 2 to 3 feet of clearance around the setup, and standing off the wall lets shadows fall to the floor instead of onto the logos. A floor decal or tape line makes the position obvious.
Soft light from two sides, angled at about 45 degrees, works well. Avoid pointing flash straight at the banner, because glare creates hot spots behind the subject. A matte backdrop helps further.
Standard walls are about 8 feet tall and 8 to 10 feet wide, and wider for group photos. Plan the width from how many people will pose together.
Yes. Media wall, press wall and red carpet backdrop all describe a banner with repeating logos used behind posed photos.
