Product Overview Video: What to Include and How to Make One


November 13, 2026


A software walkthrough video shows one task in your product, from a clear starting point to a finished result, so a viewer can follow along at their own pace. The screen recording carries the clicks. The people on camera carry the trust. The strongest versions combine both: a real person from your team who opens the video, frames the task and tells the customer who is behind the product. At Studio2U we produce that human layer on site, with portable studios and a strategic discovery call before anything is shot.
This guide is for teams that just raised money, just closed an acquisition or are about to launch, and now need video that helps customers reach their first result. It covers what a walkthrough is, how it differs from a demo and a training video, how to plan, record and deliver one, and how to tell whether it works.
A software walkthrough video is a recording of a specific workflow in real software. It shows where to click, what happens at each step and what the finished result looks like, with voiceover or on-screen captions guiding the viewer. Rimo’s 2026 guide describes it in the same terms.
Three neighboring formats get mixed up with it, and your brief should decide which one you are making.
| Format | Viewer’s question | Who it is for | Scope |
|---|---|---|---|
| Product demo | “Should we buy this?” | Prospects | Capabilities at a high level, skipping operational steps |
| Software walkthrough video | “How do I do this?” | New or active users | One workflow, every step shown |
| Product training video | “How do I get good at this?” | Customers or employees | Knowledge and skills built over a series |
| Interactive product tour | “Let me click it myself” | Prospects or new users | A clickable replica, not a video |
The distinction between a demo and a walkthrough comes down to viewer intent. A demo can skip steps because the viewer is judging fit. A walkthrough cannot, because the viewer is trying to finish a job. The same logic applies to the other queries people type here. A “product walkthrough video” is the same thing as a software walkthrough video. A “customer onboarding video” is a walkthrough (or a short series of them) aimed at getting a new customer to first value.
Training goes further. Wistia’s training video guide defines training videos by their learning objective: they teach knowledge or skills, and may mix screencasts with presenter footage, animation or slides. A single walkthrough can be one building block of a training program, not a replacement for one.
A broader point from UserGuiding’s definition: a product walkthrough is not always a video. It can also be tooltips, checklists, welcome screens or interactive tours. A video is one delivery format, and it is the one that carries a human face.
A screen recording alone answers the question “which button?” It does not answer the questions a new customer, an investor or a prospective hire quietly asks: who built this, and can I rely on them?
This matters most right after a major event. A startup that has just closed a round is about to hire, sell to larger accounts and put the company in front of investors and press. A private equity firm that has just completed an acquisition has several portfolio companies whose onboarding and product videos look nothing alike. In both cases, the screen recording is the easy part. What is missing is a consistent, credible human presence in the video.
Our approach is to treat the walkthrough as a branded asset, not a file. The same shoot day can produce the presenter footage that opens each walkthrough, team headshots for the video’s landing page and help center, and founder or customer footage for related content. Our tech product video guide covers how product stories work on camera, and our founder story video guide covers the founder side.
Most weak walkthroughs fail before recording starts. They try to serve everyone, so they show everything.
Before you open the product, write down three decisions and keep them separate. Haiku’s product training guide recommends exactly that: one audience, one task and one learning outcome, rather than blending customer and employee needs.
A workable brief answers these questions:
Start with the obstacle that most delays a customer’s first useful result. If new customers stall at connecting their data, the first video is about connecting data, not a tour of the dashboard. Explainroo’s onboarding guide makes the same recommendation.
If your product serves several user types, the same discipline applies: one video per segment and outcome. Personalization means sending viewers to the right video for their actual account state, not inserting their name into the narration, as StepVideo’s onboarding guide puts it.
Choosing which tasks to feature is a product decision as much as a video decision. This provider onboarding playbook for health software shows how one sector thinks about sequencing the tasks that get a new user to a first useful result, and the logic carries over to any B2B product.
A walkthrough script is short. It is an outline of moments, not a speech.
A simple storyboard has three columns: what the viewer sees, what the narrator says and what text appears on screen. Write it before you record, and you will cut the re-takes that eat the schedule. Guidde’s onboarding guide reports that teams often spend 45 to 90 minutes recording and re-recording, then 2 to 3 hours editing, a single five-minute video. A storyboard is the cheapest way to shrink both numbers.
Add a layer for the on-camera person. A 15 to 30 second opening from a named team member (the head of customer success, the founder or a product lead) tells the viewer why this task matters and who is helping them. That footage is where studio-quality lighting, framing and retouched stills earn their cost, and it is the part of the production that a screen recorder cannot do.
The recording rules are simple, and most of them are about restraint.
Prepare the product. Use clean, realistic sample data. Remove personal notifications, test accounts with silly names and any stray browser tabs. Set the screen resolution and aspect ratio for where the video will live: widescreen for a help center, vertical for mobile or social.
Record deliberately. Move the cursor with purpose and pause on the result of each action. Record the screen and the narration separately if you can, so you can fix a line without redoing a click sequence.
Edit for the viewer’s time. Cut dead air, repeated clicks, loading states and menu hunting. Normalize audio levels. Skip decorative transitions that pull attention from the interface. These are the editing priorities in SmoothCapture’s guidance.
Add captions. Review them for timing, line breaks and product terminology before you export.
Captions are not only for silent autoplay. They also serve deaf and hard-of-hearing customers and anyone watching in a noisy office. A transcript lets people search the video’s content and read it at their own pace. Build captions and a transcript into every walkthrough from the start, and describe on-screen actions in the narration so someone who cannot see the screen can still follow the steps.
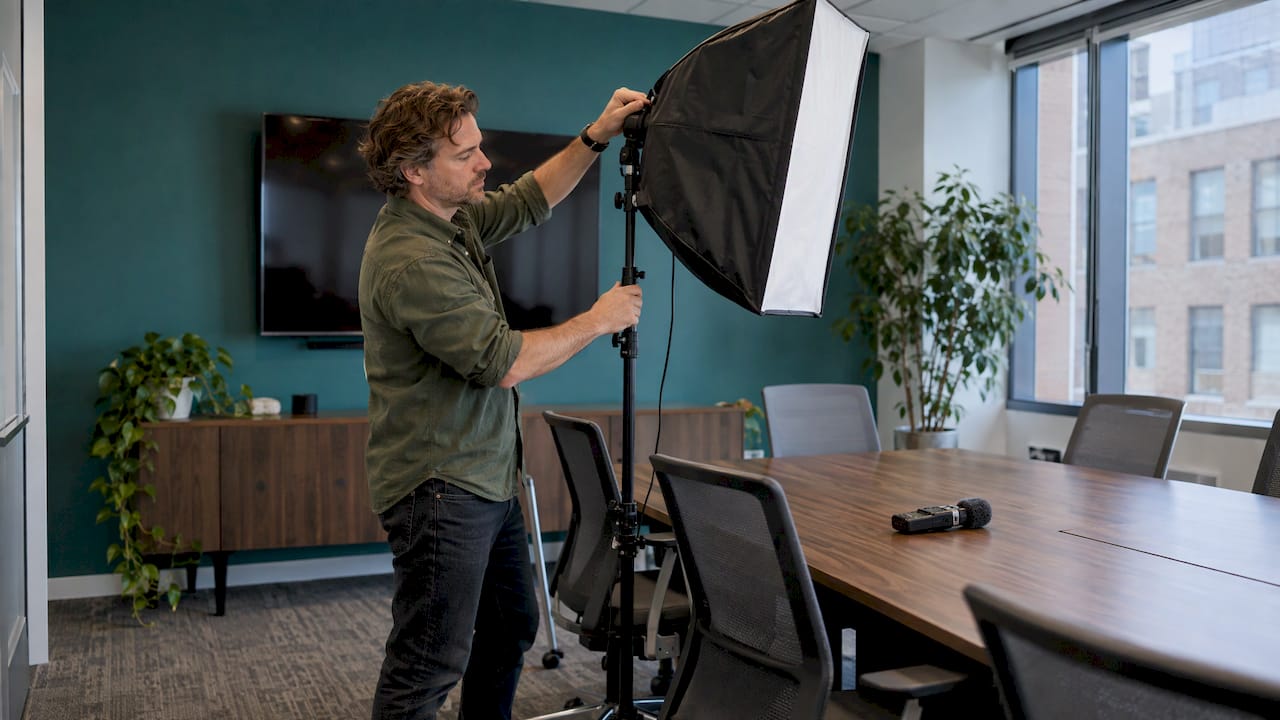
The screen capture can be recorded by your own team at their desks. The on-camera layer is different: lighting, sound, a clean background and a presenter who looks comfortable are hard to fake in a conference room. We bring a portable studio to your office, to several offices in one round, or to a portfolio company, with minimal disruption to the workday. That matters when the people you need on camera have meetings between takes.
If you also want the video to sit alongside a launch, our product launch video guide for startups shows how to connect the two.
A good walkthrough that nobody finds does nothing. Place videos where the customer already is.
Split complex processes into short segments. Guidde’s onboarding guide says videos under three minutes see the highest engagement, citing research. Treat that as a reason to split, not a hard rule: a ten-step workflow becomes three videos, each ending on a visible result.
Onboarding and training are different libraries. Onboarding gets a user to first value. Training builds competence through feature deep-dives, workflow how-tos and certification series. Organize them separately so a new customer sees only the first set, and keep the longer training library for people who come back for more.
Views tell you little. The useful questions are about what happened after the video.
Track:
Compare viewers with non-viewers inside the same customer segment and on the same downstream action. Task completion is the measure that justifies making the next video, according to Kompassify’s onboarding guide. Match each format to its own metric: onboarding walkthroughs to time to first value, feature tutorials to feature adoption and troubleshooting videos to fewer tickets.
Effective walkthroughs share a short list of habits, whatever the product category.
The third and fifth habits are where brand lives. Two companies can show the same click path, but the one with a well-lit, relaxed team member and a consistent visual style looks like the company you want to buy from and work for.
That consistency is especially valuable after an acquisition. A private equity firm combining brands needs product and onboarding videos that look like one family across portfolio companies. Shooting presenters and team photos in one coordinated production, with the same framing and style, is how that happens. See our portfolio company photography guide for how that works.
A walkthrough library has two cost layers: the screen content your team records, and the on-camera layer that gives it a face. We publish pricing for the second.
| Package | Price as published | Page |
|---|---|---|
| START UP | $2,500 per shoot | Headshots |
| STANDARD | From $2,000 per shoot | Branding |
| ENTERPRISE | From $3,500 per shoot | Branding |
| BRANDING ADD-ON | $1,000 per shoot | Branding |
Packages vary by team size and frequency, and prices were read from our site in September 2026. The pages above hold the current details.
A walkthrough rarely stands alone. The same on-site day can serve the other video needs on your list:
Planning them together means one set-up, one visit to the office and one consistent look.
If you are funded and ready to invest in video and photo, the on-camera layer is where we come in. We bring portable studios and production teams to your office, event or portfolio companies. Every project starts with a strategic discovery call, so the content is built around a business outcome. Our service includes retouching and a five-day turnaround, and for events, live photo viewing.
Book a START UP shoot at $2,500 on our headshots page, or see the branding packages for multi-person or multi-location work.
For larger gatherings, the conference packages cover NETWORKING at $2,500, SUMMIT at $4,500 and CONFERENCE at $8,000 per shoot.
Software is easy to show and hard to trust. A walkthrough solves the first problem. It does not solve the second unless a real person is in it.
We have built Studio2U on one idea: visual content should tell your story before the sales conversation begins. That applies to onboarding as much as to fundraising. The customer who sees a named, confident member of your team introduce a task feels looked after before they click anything.
So we plan the video around an outcome, not a deliverable. The discovery call decides who the audience is, what the video must achieve and where it will live. Then we bring the studio to you, so your people stay close to their work and your visuals stay consistent across offices and portfolio companies.
If you are choosing where to put your first video dollars after a round or a deal, start with the faces your customers, investors and future hires will meet. The screen recording can follow.
Kevin
A walkthrough shows one task from start to finish for someone who is trying to do it. A demo shows capabilities at a higher level for someone deciding whether to buy, and it can skip operational steps. Make the walkthrough when the viewer needs to complete something.
As short as the task allows. Guidde’s guide reports that videos under three minutes see the highest engagement, so split longer workflows into several segments. Each segment should end on a visible result the viewer can check against their own screen.
Not quite. Onboarding gets a new customer to first value, so it is a short sequence of walkthroughs. Training builds deeper competence through feature deep-dives, workflow how-tos and certification series. Keep the two libraries separate so new customers are not overwhelmed.
Yes. Captions help viewers who are deaf or hard of hearing, people watching without sound and anyone who needs the product’s exact terms in writing. Review timing, line breaks and product terminology before you publish, and add a transcript on the page.
Put them where customers already look for help: inside the product, in onboarding emails, in your help center and on a video page on your website. One video per task, with a title that names the task, makes each one easy to find.
