3 Repeatable Headshot Lighting Setups for Corporate Photographers
%20(1)%201.png)
.png)
.png)
August 28, 2026
%20(1).jpg)

For most headshot sessions, three setups cover every situation you’ll face: a one-light setup for speed and tight spaces, a clamshell two-light for the classic corporate look, and a three-light triangle when you need separation and editorial polish. Start with clamshell if you only master one. It’s forgiving, flattering across face shapes, and matches what most corporate clients expect.
TL;DR:
- A one-light headshot setup with softbox at 45 degrees and a reflector offers simplicity and speed, but provides limited control over background separation.
- For most corporate headshots, the classic clamshell two-light setup with key and fill lights flatters nearly all face types and achieves a balanced, professional look.
- Add a third light behind the subject for background separation and dramatic depth, especially on dark backdrops or editorial-style portraits, using a gridded rim or hair light.
- Consistent results depend on precise control of background spill, proper light-to-subject distance, and monitoring color temperature to maintain accurate skin tones across different skin colors.
- Outsourcing large-scale headshot programs with a portable studio team ensures uniformity, quick turnaround, and professional quality across hundreds of subjects, making it more efficient than DIY setups.
This is the setup you reach for when you’ve got one hallway, twenty minutes, and no assistant.
Here’s how to build it:
The tradeoff is control. You lose the ability to shape the background independently, and a one-light look can go flat if the softbox sits too far away or too straight-on. But a close, feathered light source can look nearly identical to a multi-light setup in the final frame, which is exactly why so many working photographers keep this in the bag as their fallback.
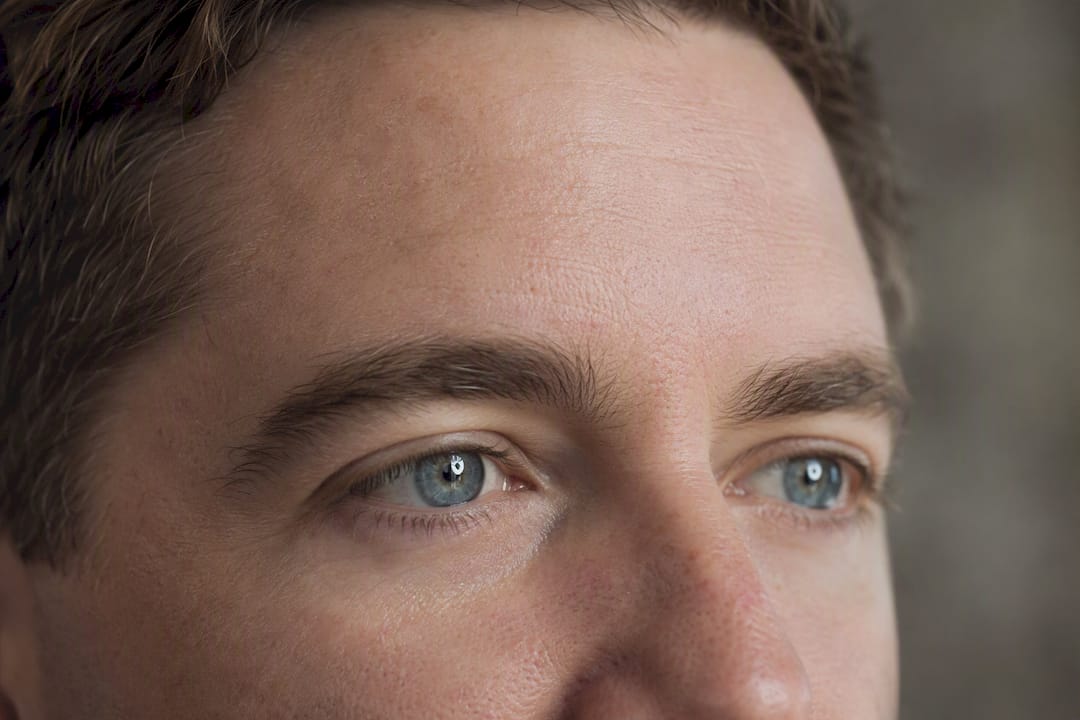
Pro Tip: Watch the catchlight in your subject’s eyes as you adjust the softbox height. A catchlight sitting near the top of the iris reads as energy and confidence; drop the light too low and the eyes go dull even if the exposure is perfect.
Clamshell lighting is the standard for corporate headshots because it flatters nearly every face shape without a lot of adjustment between subjects. The name comes from the shape the two lights make: one above, one below, sandwiching the face like the halves of a shell.
Build it this way:
Efficient studios running this setup on location typically photograph 8 to 10 people per hour, including the changeover between subjects, which makes it a realistic benchmark if you’re quoting a corporate shoot day.
For round or wider faces, narrow the key’s angle slightly and bring the fill in a touch closer to add more shadow definition along the jaw. For subjects with fine or thinning hair, watch that your key doesn’t blow out the scalp. A slight barn door or flag on the key’s top edge solves this without changing your ratio.
Add a third light when you need visible separation between your subject and the background, which matters most for dark backdrops, editorial-style portraits, or any brand that wants a more dramatic look than flat corporate lighting delivers. A standard three-light configuration gives you full control over shape, shadow, and background simultaneously, which a two-light setup can’t match.
The build starts with your key and fill exactly as in the clamshell setup, then adds:
Before you shoot, run through this: does the rim create a visible edge without flaring the lens? Does the background light stay off the subject entirely? Is your key-to-fill ratio still doing the shaping work it did in the two-light setup? If all three check out, you’ve got a portrait with real depth instead of one that just has more lights pointed at it.
Pro Tip: A gridded rim light on a boom, aimed steeply downward, almost never causes flare. A rim light aimed more horizontally, even with a grid, will find your lens eventually. Steepen the angle before you reach for a flag.
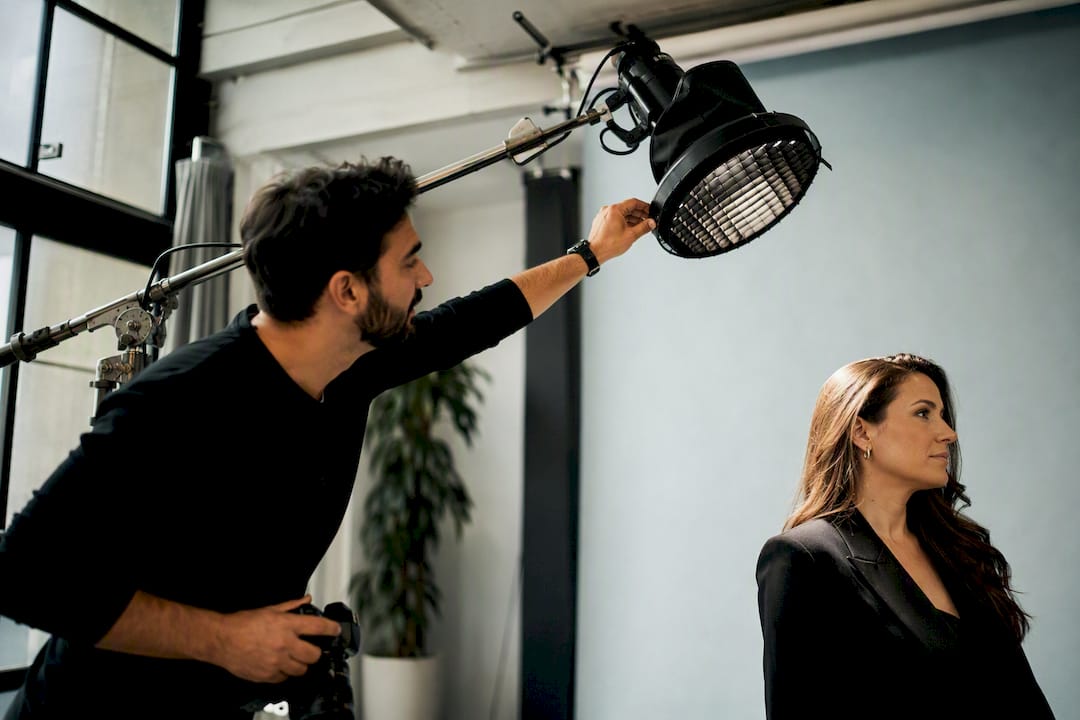
You don’t need a truck full of equipment to shoot professional headshots. You need the right handful of tools, chosen for how they behave up close.
Your camera settings matter less than your lighting, but a few defaults will save you time and keep every frame consistent across a long session.
Even flawless face lighting falls apart if your background is uneven or your key light spills where it shouldn’t, one of the most common ways an otherwise solid setup reads as amateur in the final images.
Corporate clients don’t want an artistic headshot session. They want fifty people who all look like they walked into the same studio, on the same day, under the same light, and a system built for repeatability will beat a system built for creativity every time.
Running a portable studio inside someone else’s office comes with its own rules. Studio2U’s teams set up in conference rooms, lobbies, and unused offices without rearranging furniture or disrupting a client’s workday, which means the whole rig has to go up fast and come down clean.
Mismatched color temperature shows up as an orange or blue cast that no amount of exposure correction fully fixes, especially on skin. Strobes and monolights typically output around 5500K, which matches daylight white balance and gives you a neutral, predictable starting point for skin tones across a session.
Problems creep in when you mix strobe light with ambient sources. Fluorescent office lighting often runs green or cool blue, while tungsten desk lamps and some LED panels skew warm orange. If either bleeds into your frame, set your camera’s white balance to match your strobes rather than the room, and physically kill or block the mismatched ambient source where you can.
Shooting tethered lets you catch a color cast immediately instead of discovering it after the client has gone home. Pull up a neutral gray card in your first test frame and check it against your camera’s histogram or a color picker in your tethering software; if the red, green, and blue values aren’t close to even, adjust your white balance in Kelvin rather than relying on an auto setting, which can drift between shots.
Shooting in RAW gives you a safety net to fine-tune white balance after the fact, but don’t lean on it as a substitute for getting it right in camera. A cast that’s close in camera takes seconds to perfect in post; a cast that’s badly off can shift skin tones in ways that are hard to correct evenly across an entire batch of similar images.
Natural light works well for headshots when you control it the same way you’d control a studio light, treating a north-facing window as a giant, soft key light rather than hoping ambient daylight will cooperate on its own.
Position your subject facing a large window, with the light source at roughly the same 45 degree angle you’d use for an artificial key, and use a reflector on the shadow side exactly as you would in a one-light studio setup. Overcast days actually work in your favor outdoors, since cloud cover acts as a natural diffuser and softens shadows without the need for additional modifiers.
Mixed lighting, combining natural light with a fill flash or reflector, gets trickier because daylight shifts constantly through a session. A cloud passing overhead can change your exposure and color temperature within minutes, so if you’re mixing sources, plan to check your test frame more frequently than you would under consistent studio strobes.
The biggest risk with natural light for corporate work is inconsistency across a full day of sessions. Morning light differs from midday light, which differs from late afternoon light, and a client expecting fifty uniform headshots won’t be happy if the ones shot at 9 AM look warmer than the ones shot at 3 PM. For a one-off individual portrait, natural light is a legitimate and often beautiful choice. For a multi-hour corporate session with dozens of subjects, controlled studio lighting is the safer bet precisely because it doesn’t change.
Most bad headshots trace back to a small handful of repeatable errors, not a lack of expensive gear.
Light placed too far from the subject. Distance is what makes a light source small and harsh instead of large and soft. If shadows look hard-edged, move the softbox closer before you touch anything else.
Fill light set too close to the key in power. A one-to-one ratio between key and fill flattens the face and erases the shape lighting is supposed to create. Pull the fill down to that 1 to 1.5 stop difference and the dimension comes back immediately.
Ignoring the background until after the shoot starts. Spill, color casts, and uneven exposure on the backdrop are far easier to fix before your first subject sits down than after you’ve shot thirty people against a bad background.
Skipping the test frame. Photographers in a hurry sometimes start shooting real subjects before locking exposure and white balance, then spend hours in post fixing what a thirty-second test frame would have caught.
Overcorrecting shadows entirely. A headshot with zero shadow reads as flat and artificial. The goal of fill light is to soften shadow, not erase it; some shape under the cheekbone and jaw is what makes a face look three-dimensional instead of pasted onto the background.
Skin reflects and absorbs light differently depending on tone, and a single exposure setting rarely works identically across a group of subjects with a wide range of skin tones.
Lighter skin tones reflect more light and can blow out highlights quickly, especially on the forehead and nose under a key light positioned too high or too close. Watch your histogram for clipped highlights and consider pulling your key back slightly or lowering power rather than relying on post-processing to recover detail that’s already gone.
Deeper skin tones absorb more light and need a bit more power or a slightly closer key to retain visible detail and avoid a muddy, underexposed look. Boosting fill slightly, rather than cranking the key higher, tends to preserve detail without creating hot spots on cheekbones or the forehead.
The clamshell setup’s fill light does real work here, since it’s specifically designed to lift shadow detail without blowing out the highlight side of the face. If you’re running a session with subjects across a wide range of skin tones, expect to make small power adjustments between people rather than locking one exposure for the whole day. A quick histogram check on each test frame, rather than relying on the camera’s LCD preview, catches clipping or underexposure before it becomes a retouching problem.
The same three lighting setups flex easily into different visual styles just by adjusting ratios and modifiers, without needing entirely different gear.
For a dramatic, editorial look, widen the gap between key and fill to 2 stops or more, or drop the fill entirely and let a reflector provide the only shadow relief. Add the rim light from a three-light setup at higher relative power than you’d use for a standard corporate portrait, since a stronger separation edge reads as more stylized rather than merely functional.
For a high-key look, tighten your key-to-fill ratio to nearly even, add a bright white or light gray background lit close to a full stop over your key, and skip the rim light entirely since high-key styles favor an even, shadow-free field over dramatic separation.
Classic corporate sits in the middle: the standard clamshell ratio, a neutral gray or blue background, and a rim light only when the brand specifically wants that editorial polish rather than a clean, approachable look.
Budget scales with how many lights you’re running and how much power and consistency you need across a session.
A one-light setup, a monolight or speedlight plus a stand, softbox, and reflector, is the cheapest entry point and can run from a few hundred dollars for a basic kit up to over a thousand for higher-output gear from established lighting brands. It’s a reasonable starting investment for anyone shooting occasional headshots or working solo.
A two-light clamshell setup roughly doubles your light cost and adds a boom arm, typically pushing a mid-range kit into the low thousands once you include modifiers and stands. This is where most working photographers land, since it covers the majority of paid headshot work without the added complexity of a third light.
A three-light setup adds a grid or snoot, additional stands, and often a separate background light, which is where cost climbs fastest, especially if you’re investing in higher-output monolights built for consistent recycling across long sessions. For photographers doing occasional editorial work on top of standard corporate sessions, renting the third light and grid for specific jobs is often more practical than owning gear that sits unused most of the time.
If you’re shooting occasional headshots for a small team or personal branding, a one-light or clamshell setup you build yourself will serve you fine. But once you’re coordinating dozens or hundreds of employees across multiple offices, the math changes. Consistency at scale, matching ratios, floor marks, and color across every room and every session, is a full-time discipline, not a weekend skill. That’s the point where bringing in a team that already runs this as a repeatable system, rather than building it from scratch each time, saves more than it costs.
— Kevin
studio2U is the alternative to building and hauling your own lighting rig from office to office. Our portable studios travel directly to your team, set up fast with minimal disruption to the workday, and deliver the same consistent clamshell or three-light look whether we’re shooting ten people in one room or four hundred across multiple locations.
Every session runs on the same marked positions, recorded ratios, and batch retouching workflow described above, so your fiftieth employee looks like they sat for the same shoot as your first. Turnaround runs five business days, which means your team pages, LinkedIn profiles, and press kits get updated while the rest of your rebrand or hiring push is still fresh. Visit studio2U to check availability and get a quote for your next headshot session.
The 3-point rule refers to a key light, fill light, and rim (or back) light working together to shape a subject, control shadow, and separate them from the background, the same structure used in a three-light headshot triangle.
A key light at 30 to 45 degrees above eye level, a fill at chest height 1 to 1.5 stops under the key, and a gridded hair or rim light behind the subject gives you full control over shape and background separation.
The clamshell setup, a key light above eye level and a fill light below at chest height, is the most widely used two-light configuration for corporate headshots because it flatters most face shapes with minimal adjustment.
Bright white, busy patterns, and colors that closely match the background can cause exposure and separation problems under studio lighting; solid, mid-tone colors generally photograph most consistently.
A one-light or clamshell setup you build yourself works fine for occasional or small-team sessions, but once you’re coordinating dozens of employees or multiple office locations, a team like studio2U that already runs a repeatable, ratio-logged system saves time and keeps the look consistent across everyone photographed.
