One-Day On-site Headshots: Templates & Proofs for Corporate Organizers
%20(1)%201.png)
.png)
.png)
August 12, 2026
%20(1).jpg)

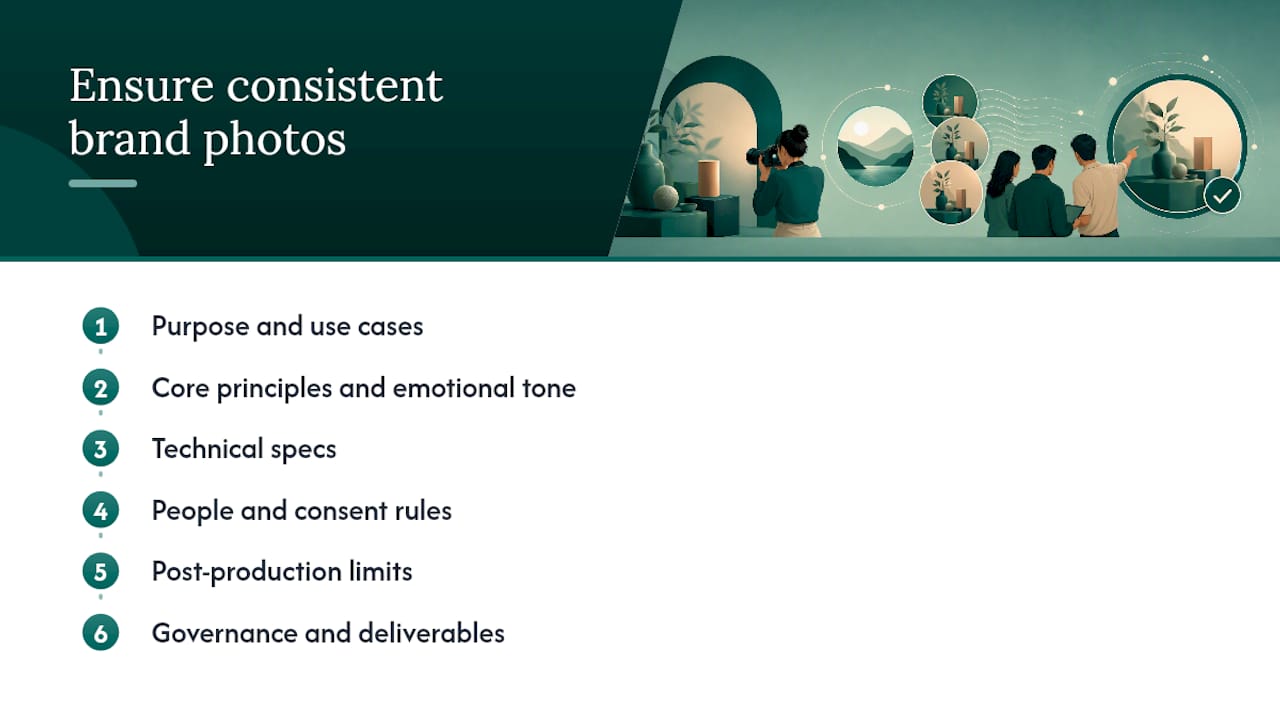
Brand photography guidelines are the operational rules that lock your brand’s photographic look, feel, and use into repeatable decisions any photographer or editor can follow without a briefing call. Every effective guide states six things: (1) purpose and use cases, (2) core principles and emotional tone, (3) technical specs, (4) people, consent, and inclusion rules, (5) post-production limits, and (6) governance and deliverables. Miss any one of them and you get drift — headshots from Chicago that look nothing like the ones from Austin, or a hero image your legal team flags six months after it runs.
Immediate action: Copy this six-item checklist into a shared doc, assign an owner to each item, and send it to your next photographer before the shoot brief goes out. Organizations like GE HealthCare and Red Hat publish full photography standards publicly; both are worth reviewing as benchmarks. studio2U builds these six elements into every production brief it sends.
Solid brand photography guidelines lock six operational elements — principles, specs, consent, post-production rules, governance, and deliverables — so every shoot produces consistent, publish-ready assets.
| Point | Details |
|---|---|
| Six required elements | Every guide must state purpose, tone, technical specs, consent rules, post-production limits, and governance. |
| Tone words drive decisions | Write 2–4 emotional-tone phrases before each shoot; photographers make better choices when tone is tied to a specific use case. |
| Releases before the shoot | Collect signed model releases from every identifiable adult before shooting begins; log each with a unique ID in your DAM metadata. |
| Presets prevent drift | Distribute one approved Lightroom preset or LUT to all photographers; document every change in a versioned changelog. |
| studio2U as implementation partner | studio2U delivers on-site production with standardized presets, consent capture, and five-business-day turnaround across US locations. |
Photography guidelines at organizations like Red Hat set emotional-tone directives — phrases like “open and airy” or “positive and realistic” — before a single frame is shot. That is the right starting point. Guidelines govern not just what images look like but what they mean to the people who see them.
The core principles section of any guide answers three questions:
Sample brief phrases you can drop in directly:
Pro Tip: Map each tone word to a specific use case. “Warm and human” governs team lifestyle shots; “confident and precise” governs executive portraits. Photographers make better decisions when tone is tied to a context, not floating as an abstract directive.
University of Illinois brand guidelines separate hero and secondary photography explicitly, and for good reason. Treating every image the same way is how pages end up visually flat.
Hero image criteria:
Secondary image criteria:
When building a page or campaign, pair hero and secondary images by color temperature and crop pacing. A warm-toned hero with a cool-toned secondary creates visual dissonance even when both images are technically strong. Lock color temperature as a pairing rule in your guide.
This gives designers room to place headlines without covering faces, and it survives responsive crops from desktop to mobile without a re-shoot.*
Concrete framing rules prevent the most common consistency failures. These apply whether you are directing a photographer on-set or evaluating stock.
Orientation by use case:
Focal point and negative space:
Lighting:
Angles to avoid:
Environmental and product shoots have more flexibility on angle, but people photography stays within eye-level ±15 degrees as a default rule.
Pro Tip: For group photos, stagger subjects at slightly different depths rather than lining them up in a single plane. It reads as natural interaction rather than a lineup, and it gives the image visual dimension.
Shopify’s photography style guide guidance recommends specifying color palette, focal length, file naming, and mobile-specific guidelines in a single document. Here is how to structure those specs operationally.
Master file requirements:
[ClientCode]_[ShootDate]_[Location]_[SequenceNumber] (example: ACME_20260315_NYC_0042)Export specs by channel:
Folder structure for DAM ingestion:
/[Year]/[Quarter]/[Project]/RAW/
/[Year]/[Quarter]/[Project]/Exports/Web/
/[Year]/[Quarter]/[Project]/Exports/Social/
/[Year]/[Quarter]/[Project]/Exports/Print/
All exports use sRGB for screen channels. Adobe RGB stays on master and print files only — sending Adobe RGB to a web CMS causes color shift on most browsers.
UCSF’s photography standards include practical rules on permissions and image sourcing for institutional channels. Every corporate guide needs the same foundation.
Consent checklist for on-set photographers and producers:
Illinois Strategic Communications maintains a centralized release form and image database — a practical model for any marketing team managing high-volume shoots.
Inclusion checklist:
Pro Tip: Build the release ID into the image filename at export. When a legal question arises six months later, you will find the release in seconds instead of searching a shared drive.
One-line legal note: for unusual use cases (international distribution, sensitive subject matter, AI training datasets), have legal counsel review release language before the shoot.

Stock is appropriate for conceptual or atmospheric supporting images where custom photography would be disproportionately expensive. It is never appropriate for leadership imagery, product-in-use shots, or any image that implies a real customer relationship.
Licensing checklist before downloading any stock image:
Permitted modifications:
Do/don’t stock examples:
Pro Tip: Search stock libraries using negative keywords (“no eye contact,” “no smile,” “candid”) to find images that match a natural, human-first brand tone rather than the default stock-photo grin.
Retouching policy is where most brand guides go silent — and where the most visible inconsistencies appear.
Retouching policy for people:
Color treatment rules:
Shopify recommends using approved editing presets and a documented change log to prevent “preset sprawl” across multiple photographers and locations. Distribute your master preset file via a shared drive with version numbers, and log every change with a date and reason.
Approval process: All retouched selects go to the brand owner for sign-off before DAM ingestion. No image goes live from a first-pass edit without review.
A production-ready brief answers every operational question before the shoot day, so photographers deliver publish-ready assets without a follow-up round.
Shot-list template (minimum counts):
Moodboard checklist:
Deliverables and turnaround:
QA checklist before DAM ingestion:
Pro Tip: For event highlight photography and multi-day shoots, run the QA checklist at the end of each shoot day — not after all files are delivered. Catching a lighting inconsistency on day one saves a reshoot.
Usage matrix:
| Asset Type | Website | Social | Paid Ads | Internal Comms | |
|---|---|---|---|---|---|
| Custom hero | Yes | Yes | Yes | Yes | Yes |
| Custom lifestyle | Yes | Yes | Yes | Yes | Yes |
| Stock (commercial) | Yes | Yes | Check license | Check license | Yes |
| Stock (editorial) | No | No | No | No | Internal only |
| Unretouched selects | No | No | No | No | Review only |
Metadata template (embed in every master file):
Alt text best practices:
Archiving rules: Retain master files for a minimum of seven years.
Clear ownership prevents the two most common failures: images going live without approval, and the guide going stale after 18 months.
Governance roles:
Approval workflow:
Refresh cadence: Major guide updates annually (new tone words, updated specs, new use cases). Minor revisions (naming convention changes, new channel specs) logged in a changelog with date and author. Version-control the guide document itself — v1.0, v1.1, v2.0 — so vendors always know which version governs a current shoot.
For DAM platform selection, the Bynder vs. Brandfolder comparison covers the key governance and taxonomy considerations for marketing teams choosing between enterprise options.
The six-item framework above is sound. Where it falls apart is execution across multiple locations, vendors, and time zones. The most common failure is not a missing rule — it is a rule that exists in a PDF no one reads before the shoot.
Here is what that looks like in practice, and how it gets fixed:
When external vendors are part of your production model, integrate them into your governance structure explicitly. Assign them a vendor manager contact, give them read access to the guide, and require a pre-shoot brief confirmation in writing. Vendors who operate inside your governance model deliver consistent results; vendors who operate outside it deliver surprises.
Most marketing teams have the guidelines. The gap is execution — especially across multiple offices, events, or portfolio companies where consistency is hardest to maintain.
studio2U brings portable studio systems and production teams directly to your location, anywhere in the United States. Every shoot runs on standardized presets, a pre-approved shot list, and a production brief built around your brand guide. Consent capture, metadata embedding, and DAM-ready file delivery are built into the workflow, not added as afterthoughts.
The result: publish-ready assets in five business days, consistent across every location, with releases and metadata already in place. For organizations managing headshots, team photography, leadership portraits, or event content at scale, that turnaround matters. Book a pilot shoot or request a production brief to see how the process works before committing to a full program.
These publicly available guides and resources are worth bookmarking as benchmarks and reference material:
Every guide must state purpose and use cases, core principles and emotional tone, technical specs, people and consent rules, post-production limits, and governance and deliverables. Missing any one element causes inconsistency across shoots, vendors, or locations.
Write two to four tone words your images must convey (“warm and human,” “confident but approachable”) and two to four they must never convey. Tie each tone word to a specific use case — executive portraits, lifestyle shots, product detail — so photographers apply the right register to the right context.

Stock works for conceptual or atmospheric supporting images. It is never appropriate for leadership imagery, product-in-use shots, or any image implying a real customer relationship. Always confirm commercial licensing, territorial coverage, and that model and property releases are included before downloading.
A release should explicitly cover web, social, print, paid advertising, and internal communications. Collect it before the shoot begins, assign a unique release ID, and embed that ID in the image metadata so it is traceable when legal questions arise later.
Major updates annually to address new tone direction, channel specs, or use cases. Minor revisions — naming convention changes, new platform crops — are logged in a versioned changelog. Version-control the guide document itself so vendors always know which version governs their current shoot.
